Let me walk you through every single step—by the end, you’ll wonder how you ever made it any other way. I’ll share the secret hacks, the timing tricks, and the little details that elevate a dump cake from good to legendary. Stay with me; this is worth it. If you’re ready to turn a simple idea into a showstopper, let’s dive in.
What Makes This Version Stand Out
- Richness: The blend of dark chocolate and espresso creates depth, turning a simple dump into a complex flavor profile.
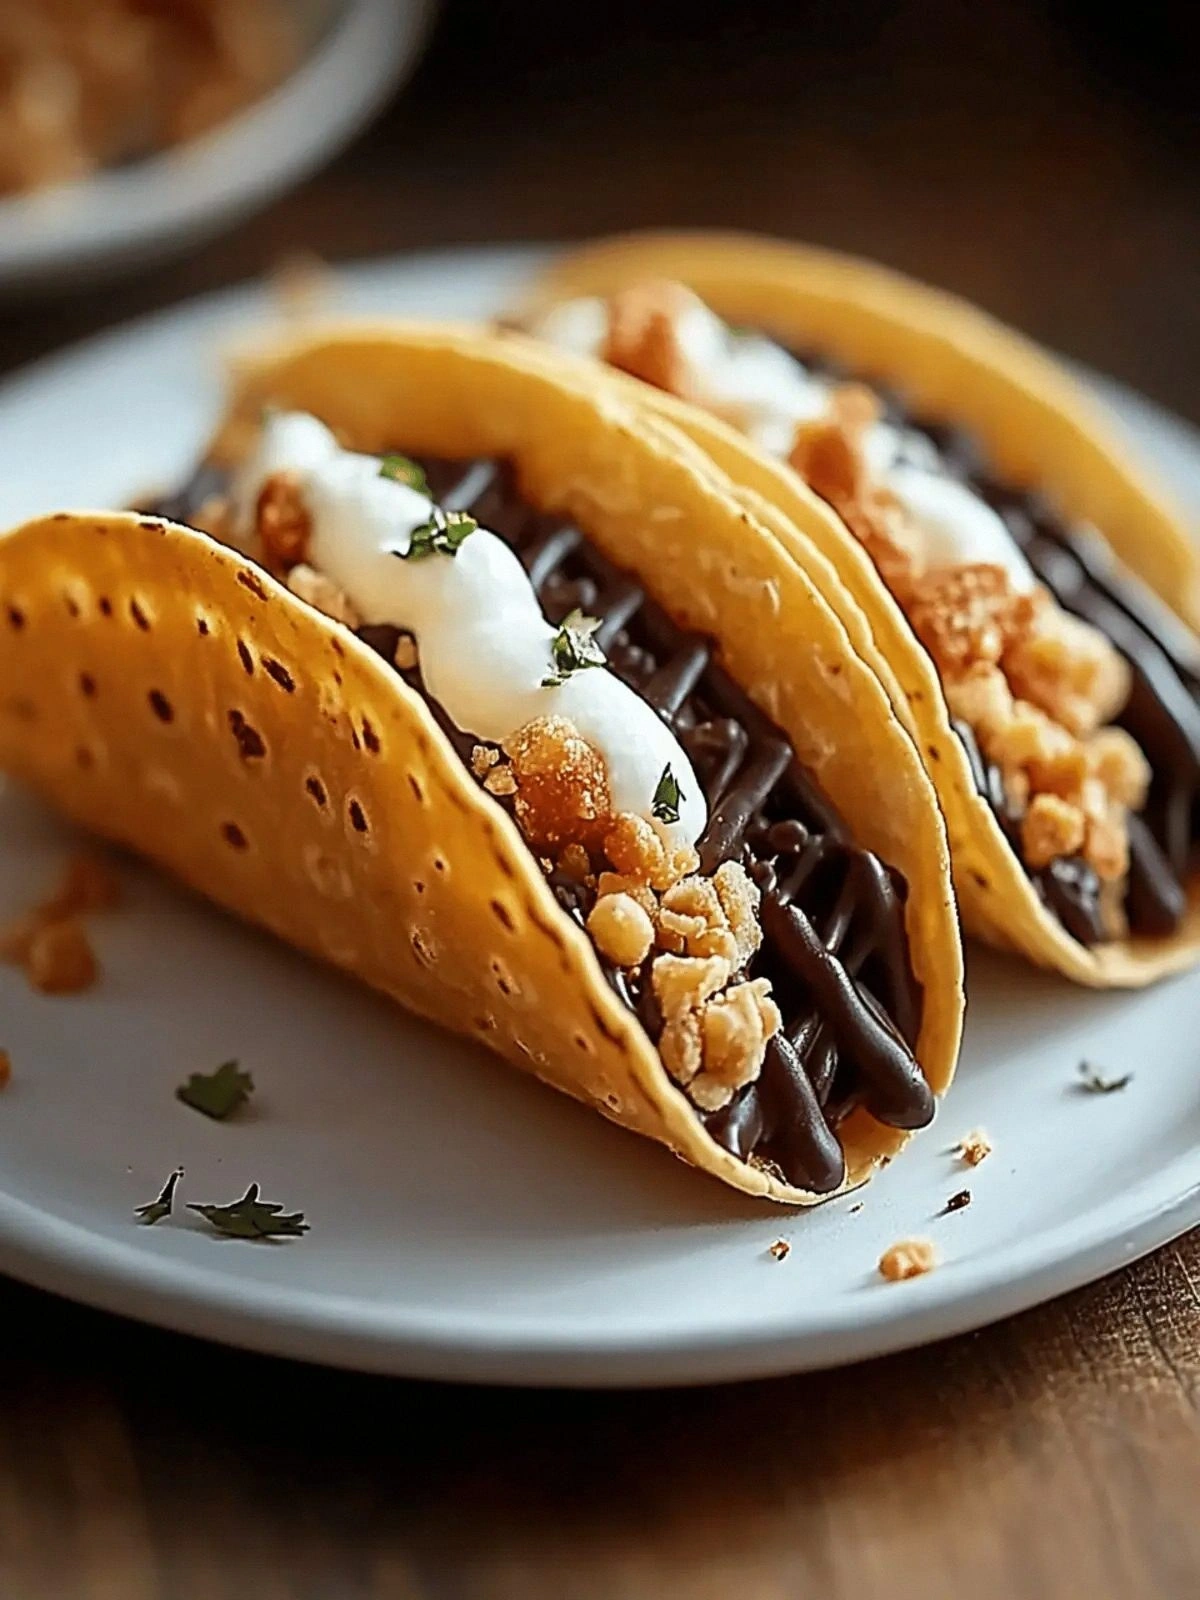
- Texture: A crisp outer shell contrasts with a molten interior, offering a satisfying bite that melts in your mouth.
- Simplicity: No pre‑baking, no frosting—just a few ingredients dumped into a pan, set, and baked.
- Speed: The entire process takes less than 45 minutes, making it ideal for spontaneous cravings.
- Versatility: Swap in white chocolate, caramel, or nuts for endless variations.
- Crowd‑pleaser: Its dramatic appearance and indulgent taste make it a hit at parties and gatherings.
- Make‑ahead Friendly: Freeze the batter and bake fresh when needed; the sauce remains luscious.
- Ingredient Quality: Using premium chocolate chips and fresh butter elevates every bite.
Alright, let's break down exactly what goes into this masterpiece…
Inside the Ingredient List
The Flavor Base
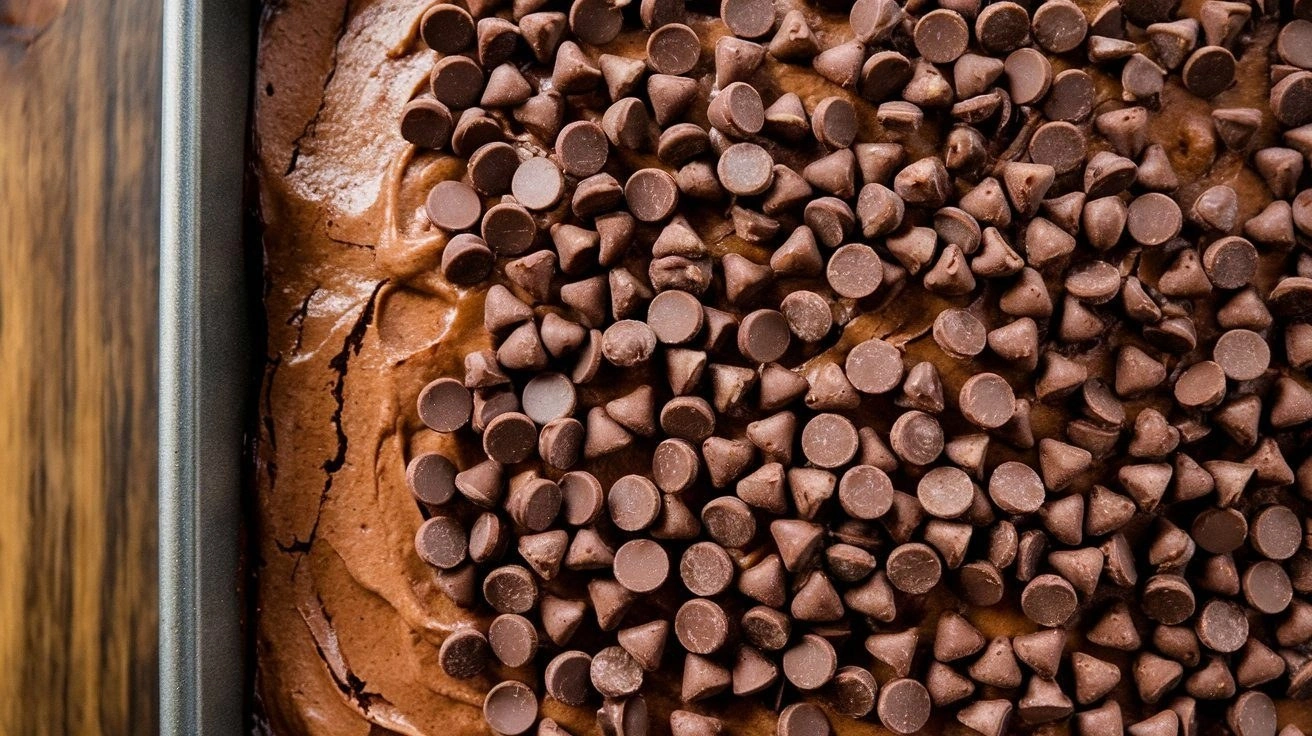
Dark chocolate chips are the heart of this cake, providing the deep, bittersweet foundation that defines the dessert. They melt into a glossy sauce that coats every crumb, creating a luscious mouthfeel. If you skip them, you lose the signature chocolate richness and end up with a bland batter that’s hard to enjoy. Swap in semi‑sweet chips for a milder flavor, but the intense dark chocolate is the star.
The Texture Crew
All‑purpose flour, baking powder, and sea salt work together to give the cake body and structure. The flour absorbs the wet ingredients, creating a tender crumb, while the baking powder ensures a gentle rise. The sea salt, a pinch, cuts the sweetness and brings out the chocolate’s depth. If you omit the baking powder, the cake will be dense and flat; if you use too much, it will become airy and crumbly. A good rule of thumb is to whisk them together to avoid lumps.
The Unexpected Star
Espresso powder is the secret ingredient that elevates this dump cake from ordinary to extraordinary. It intensifies the chocolate flavor without adding a bitter aftertaste, giving the sauce a subtle coffee undertone. If you’re not a coffee fan, you can replace it with a tablespoon of instant coffee or even omit it—just be prepared for a slightly less complex flavor. The espresso also helps the chocolate melt evenly, ensuring a silky sauce.
The Final Flourish
Butter and milk are the wet components that bind everything together. The butter melts into the chocolate, creating a velvety sauce, while the milk adds moisture and helps the batter spread. If you use whole milk, the sauce will be richer; skim milk will result in a lighter texture. Skipping butter will produce a dry cake; using coconut oil is an alternative for a dairy‑free version.
Everything's prepped? Good. Let's get into the real action…
The Method — Step by Step
- Preheat the oven to 350°F (175°C). While the oven warms, line a 9x13-inch baking pan with parchment or a silicone mat. This step ensures a non‑stick surface and a clean finish. The oven temperature is crucial; too hot, and the edges burn before the center sets; too cool, and the sauce won’t fully develop. I like to set a timer for 5 minutes to keep my mind occupied.
- Combine dry ingredients. In a large bowl, whisk together the flour, baking powder, and sea salt until fully blended. This uniformity prevents clumps that could ruin the texture. I always use a whisk instead of a spoon; the whisk aerates the mixture, making the batter light. If you’re a perfectionist, sift the flour once more for extra smoothness.
- Mix wet ingredients. In a separate bowl, blend the butter, milk, and espresso powder until the butter melts completely. The espresso dissolves in the milk, creating a smooth base. Pour this mixture into the dry ingredients and stir until just combined—overmixing can activate gluten and make the cake tough. The batter should be slightly thick but pourable.
- Dump the chocolate. Spoon the dark chocolate chips evenly across the top of the batter. The chips should be spaced to allow the sauce to flow. I like to sprinkle a few extra chips on top for a glossy finish. Remember, the chocolate is the star; don’t be shy about adding more.
- Spread the batter. Using a spatula, gently press the batter toward the center, letting the chocolate chips sink to the bottom. This step ensures an even distribution of chocolate throughout the cake. The batter should cover the entire pan, forming a shallow layer. The edges will brown slightly during baking.
- Bake the cake. Place the pan in the preheated oven and bake for 30 minutes. The batter will rise slightly and the edges will start pulling away. The chocolate will melt into a glossy sauce that coats the batter. If you like a firmer center, bake an additional 2–3 minutes.
- Check for doneness. Insert a toothpick into the center; it should come out clean or with a few crumbs. The cake should smell like toasted chocolate and coffee. If the toothpick has wet batter, bake for another 2 minutes. The key is to avoid overbaking, which dries out the sauce.
- Cool and serve. Remove the cake from the oven and let it cool on a wire rack for 10 minutes. The sauce will thicken slightly, making it easier to slice. Serve warm with a scoop of vanilla ice cream or a dollop of whipped cream. The contrast of hot sauce and cold ice cream is pure heaven.
That's it — you did it. But hold on, I've got a few more tricks that'll take this to another level…
Insider Tricks for Flawless Results
The Temperature Rule Nobody Follows
Many bakers think room temperature butter is fine, but using slightly warm butter melts into the chocolate more smoothly, creating an even sauce. I heat the butter in a small saucepan for 30 seconds, then whisk it into the milk. The result is a glossy, silky texture that’s hard to beat. If you’re in a hurry, let the butter sit at room temperature for 10 minutes instead.
Why Your Nose Knows Best
The aroma of chocolate baking is a powerful cue. When the scent rises, the batter is almost done. Trust your nose; it’s a reliable indicator of doneness. I always pause the timer to check the smell, then use the toothpick test as a final confirmation. This dual check ensures a perfectly baked cake.
The 5-Minute Rest That Changes Everything
Letting the cake rest for 5 minutes after baking allows the sauce to set, making slicing easier and the texture more cohesive. I use this time to whip a quick topping or to let my guests decide on their favorite add‑on. The rest period also lets the flavors meld, giving the cake a richer taste.
The Secret Sauce Trick
If you want an extra silky sauce, stir a tablespoon of heavy cream into the batter before baking. The cream adds richness and smoothness, creating a decadent finish. Keep in mind that this will increase the fat content, so adjust the serving size if you’re watching calories.
The Finish with a Splash
A splash of cold milk or even a drizzle of chocolate ganache right before serving adds a glossy sheen and a burst of flavor. It also helps the cake stay moist for longer. I recommend a quick swirl of ganache for an elegant finish.
Creative Twists and Variations
This recipe is a playground. Here are some of my favorite ways to switch things up:
Caramel Crunch
Swap half the chocolate chips for caramel chips and add a handful of crushed pretzels for a salty crunch. The caramel adds a buttery sweetness, while the pretzels provide texture. This variation is perfect for those who love sweet‑and‑salty combos.
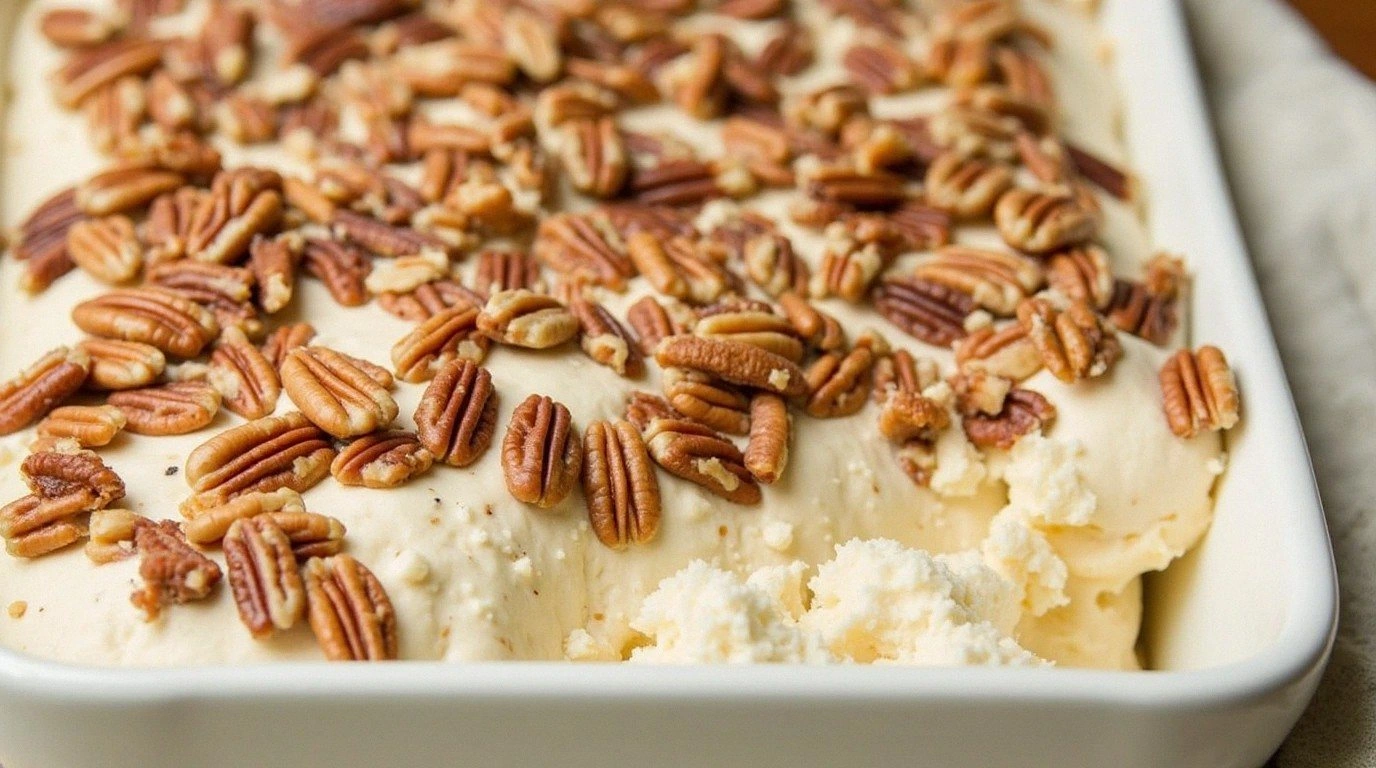
Nutty Delight
Add a cup of chopped walnuts or pecans to the batter. The nuts toast slightly in the oven, adding a nutty aroma and crunchy bite. Pair with a drizzle of maple syrup for an extra layer of flavor.
White Chocolate Whisper
Replace the dark chocolate chips with white chocolate for a milder, sweeter cake. The sauce becomes creamy, and the overall flavor is reminiscent of a milk chocolate bar. It’s a great option for guests who prefer less bitterness.
Coconut Cream Dream
Use coconut milk instead of dairy milk and top the cake with toasted coconut flakes. The tropical notes complement the chocolate, and the coconut adds a pleasant chew. This version is dairy‑free and wonderfully fragrant.
Espresso Explosion
Increase the espresso powder to a tablespoon for a stronger coffee kick. The chocolate’s bitterness is balanced by the coffee’s sharpness, creating a sophisticated flavor profile. Serve with a shot of espresso on the side for an extra indulgence.
Holiday Spice
Add a pinch of cinnamon, nutmeg, or allspice for a warm, spiced twist. This variation is perfect for holiday gatherings, offering a comforting aroma and depth.
Storing and Bringing It Back to Life
Fridge Storage
Wrap the cooled cake tightly in plastic wrap and store in the refrigerator for up to 3 days. The sauce will firm up, making slicing easier. When ready to serve, let it sit at room temperature for 10 minutes to soften slightly.
Freezer Friendly
Place the cake in a freezer‑safe container or zip‑lock bag. Freeze for up to 2 months. To reheat, thaw overnight in the fridge, then warm in a 300°F oven for 10 minutes. The sauce will rehydrate and regain its silky texture.
Best Reheating Method
The easiest way to revive a frozen cake is to microwave on medium power for 30 seconds, then finish in the oven for 5 minutes. Add a tiny splash of water before reheating to create steam, ensuring the cake stays moist and the sauce stays glossy. This trick preserves the original flavor profile.