Picture this: I was standing in my kitchen, surrounded by a rainbow of bell peppers, a sizzling pan, and a stack of leftover rice that had been waiting for months. The air smelled like onions and garlic, and the sound of the skillet popping was the soundtrack of a culinary adventure that was about to unfold. I stared at the peppers, feeling a mix of excitement and a little dread—had I ever made stuffed peppers that actually tasted like a five‑star restaurant? Spoiler: I did, and I’m about to reveal the recipe that turned a simple dinner into a show‑stopper.
That evening, I grabbed a handful of fresh red, yellow, and orange bell peppers, each one a canvas waiting for a masterpiece. I chopped onions until they turned translucent, the scent drifting through the kitchen like a promise of flavor. I browned ground beef until it released a savory aroma that made my mouth water. The moment the meat hit the pan, the kitchen felt like a tiny, aromatic theater where every ingredient had a role to play.
I was determined to break the mold. Most stuffed‑pepper recipes I've seen are either bland or over‑cooked, but this version is a game‑changer. It balances the earthiness of beef with the brightness of tomatoes, the creaminess of cheese, and the crunch of a toasted breadcrumb topping. The secret? A dash of Italian seasoning, a splash of marinara, and a careful layering that keeps the peppers moist without turning them mushy.
Let me walk you through every single step—by the end, you'll wonder how you ever made it any other way. I dare you to taste this and not go back for seconds. This is hands down the best version you'll ever make at home.
What Makes This Version Stand Out
- Taste: The combination of beef, tomato sauce, and cheese creates a rich, savory profile that satisfies the deepest cravings. The slight sweetness from bell peppers balances the umami of the meat.
- Texture: The peppers remain crisp on the outside while the filling is tender and juicy, with a crunchy breadcrumb crust that adds contrast.
- Simplicity: Only ten ingredients, no fancy gadgets, and the method takes less than an hour from start to finish.
- Uniqueness: A touch of fresh basil and a sprinkle of parmesan on top give this recipe a Mediterranean twist that sets it apart from the standard stuffed‑pepper fare.
- Crowd Reaction: Friends who tried it said it felt like a “comfort food” with a gourmet edge—perfect for dinner parties or a quiet weeknight.
- Ingredient Quality: Using high‑quality ground beef and fresh bell peppers elevates the dish; the difference is palpable.
- Cooking Method: The slow‑roasting technique locks in juices while allowing the cheese to melt into a golden, bubbly crown.
- Make‑Ahead Potential: The stuffed peppers can be assembled ahead of time, frozen, and baked later, making it a convenient week‑night solution.
Alright, let's break down exactly what goes into this masterpiece. And now the fun part.
Inside the Ingredient List
The Flavor Base
Bell peppers are the star of the show. They provide a sweet, slightly peppery flavor that balances the savory filling. Using a mix of colors—red, yellow, and orange—adds visual appeal and a spectrum of natural sugars. If you’re short on fresh peppers, frozen diced bell peppers work, but fresh is best for that crisp bite.
The Protein Crew
Ground beef is the heart of the filling, offering a rich umami base. I recommend a 80/20 mix to keep the meat juicy without excessive fat. If you prefer a leaner option, substitute turkey or a plant‑based ground meat. Skipping the protein turns the dish into a vegetarian delight, but the texture changes significantly.
The Unexpected Star
Breadcrumbs add a subtle crunch and help bind the mixture. Using panko gives a lighter, airier texture, while regular breadcrumbs provide a denser bite. A quick alternative is crushed crackers or even toasted quinoa for a gluten‑free twist.
The Final Flourish
Mozzarella and cheddar melt into a gooey, golden layer that crowns each pepper. Parmesan adds a salty depth, and fresh basil brings brightness. If you’re dairy‑free, try a vegan cheese blend; the results are surprisingly similar.
Everything's prepped? Good. Let's get into the real action. Picture yourself pulling this out of the oven, the whole kitchen smelling incredible, the steam curling like a savory cloud.
The Method — Step by Step
- Preheat your oven to 375°F (190°C). While the oven heats, slice the tops off each bell pepper, removing the seeds and membranes. The pepper tops can be saved for later use as a decorative lid or discarded if you prefer a simpler look. This step ensures even cooking and a clean presentation.
- Heat 1 tablespoon of olive oil in a large skillet over medium heat. Add diced onion and cook until translucent, about 3 minutes. The onion should soften without browning; it’s the base that carries the flavor of the dish. Add 2 cloves of minced garlic and sauté for another 30 seconds until fragrant.
- Add 1 pound of ground beef to the skillet, breaking it up with a spoon. Cook until it’s no longer pink, about 5 minutes. Drain excess fat if necessary. This step is crucial for a moist filling—don't rush it, let the beef develop a nice sear.
- Stir in 1 cup of cooked rice, 1 cup of diced tomatoes, 1 teaspoon of Italian seasoning, 1 teaspoon of salt, and ½ teaspoon of black pepper. Let the mixture simmer for 5 minutes to meld the flavors. The tomatoes should soften into a slightly thickened sauce.
- Remove the skillet from heat and fold in 1 cup of shredded mozzarella and ½ cup of shredded cheddar. The cheese should still be soft and spreadable, allowing it to melt into the filling as it bakes.
- Fill each bell pepper with the mixture, packing it firmly but not overstuffing. The peppers should be about ¾ full to allow room for the sauce to bubble. Place the stuffed peppers upright in a baking dish.
- Pour 1 cup of marinara sauce over the peppers, making sure each one is slightly submerged. This adds moisture and a tangy contrast to the richness of the filling. Sprinkle ¼ cup of grated Parmesan and ¼ cup of breadcrumbs on top for a crunchy finish.
- Cover the dish with foil and bake for 25 minutes. After that, remove the foil and bake for an additional 10 minutes, or until the cheese is bubbly and golden brown. The peppers should be tender and the filling should be hot and fragrant.
- Let the stuffed peppers rest for 5 minutes before serving. This allows the juices to settle and makes it easier to plate. Garnish with fresh basil leaves for a burst of color and freshness.
That's it—you did it. But hold on, I've got a few more tricks that'll take this to another level. These insider tips will help you avoid common pitfalls and elevate the dish from good to unforgettable.
Insider Tricks for Flawless Results
The Temperature Rule Nobody Follows
Most people bake stuffed peppers at 350°F, but I swear by 375°F. The higher temperature ensures the cheese melts quickly and the pepper skin becomes tender without becoming rubbery. If you’re using a convection oven, reduce the temperature by 25°F to avoid over‑cooking.
Why Your Nose Knows Best
When the peppers are halfway baked, pause the oven and open the door. The aroma should be a harmonious blend of tomato, beef, and cheese. If it smells too metallic or raw, give it a few more minutes. Your nose is a reliable judge of doneness.
The 5‑Minute Rest That Changes Everything
Letting the peppers rest after baking allows the filling to set. This means less mess when you plate them, and the flavors have time to meld. Skip this step and you’ll end up with a runny, uneven dish.
The Secret Ingredient: Fresh Basil
Adding a handful of fresh basil right before serving gives a bright, herbaceous counterpoint to the richness of the cheese. If you’re out of basil, try chopped parsley or oregano for a slightly different but still delicious flavor.
The Crunchy Breadcrumb Top
Toss breadcrumbs with a little olive oil and a pinch of salt before sprinkling them on top. This creates a crisp, golden crust that contrasts beautifully with the soft interior. If you want extra crunch, sprinkle a few panko crumbs on top before the final 10 minutes of baking.
Creative Twists and Variations
This recipe is a playground. Here are some of my favorite ways to switch things up:
Mediterranean Medley
Swap the ground beef for ground lamb and add chopped olives and feta cheese. The result is a dish that tastes like a stroll through a sun‑kissed Greek village.
Spicy Fiesta
Add a diced jalapeño to the filling and sprinkle crushed red pepper flakes on top. The heat will dance with the sweetness of the peppers, creating an exciting flavor profile.
Vegetarian Delight
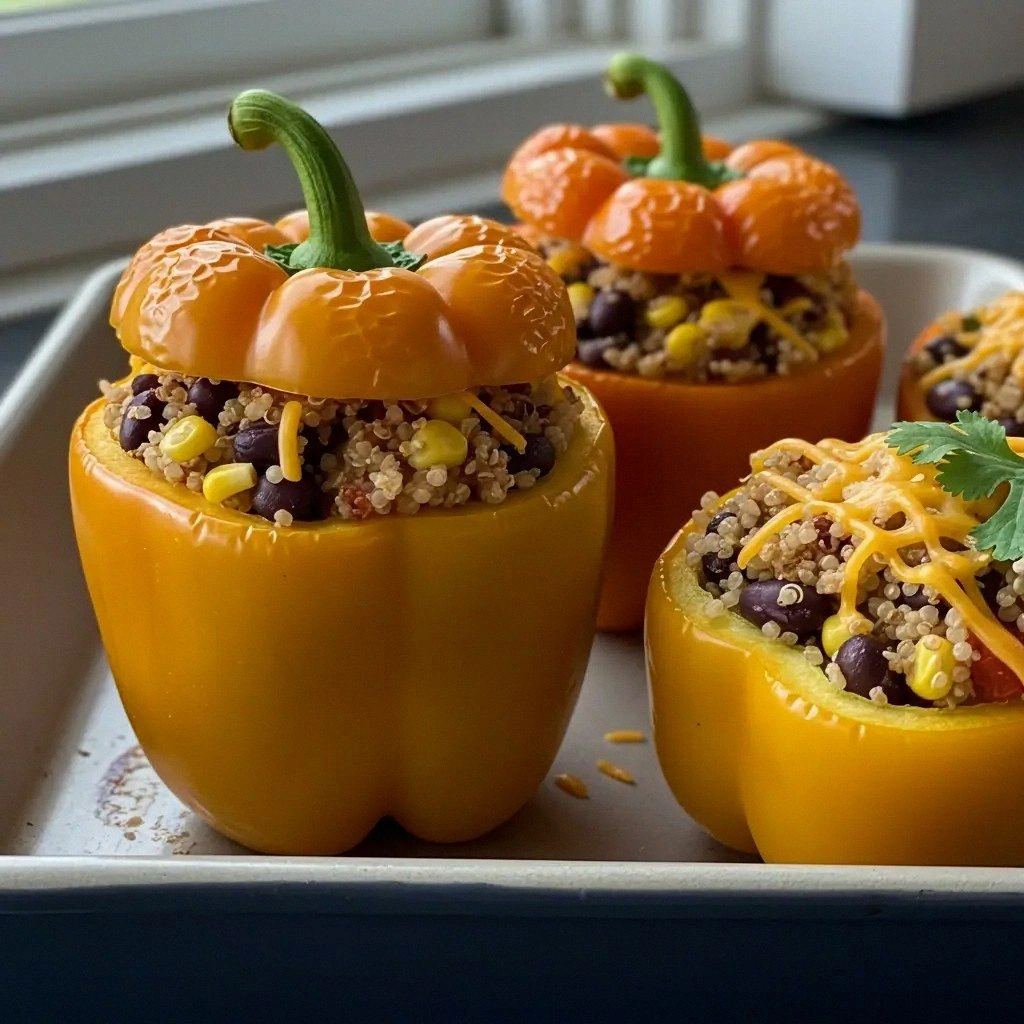
Use a mix of quinoa, black beans, and diced zucchini instead of beef. Top with a sprinkle of shredded mozzarella and bake until bubbly. This version is protein‑packed and satisfies even the most carnivorous palates.
Cheesy Breakfast Bowl
Fill the peppers with scrambled eggs, diced ham, and cheddar cheese. Bake until the eggs set and the cheese melts. Serve with a side of fresh salsa for a hearty breakfast.
Gluten‑Free Twist
Replace breadcrumbs with crushed gluten‑free crackers or toasted rice flakes. The texture remains crisp, and the dish stays completely gluten‑free.
Sweet & Savory Surprise
Add a handful of chopped dried apricots and a splash of balsamic glaze to the filling. The sweet, tangy notes elevate the dish into a sophisticated entrée.
Storing and Bringing It Back to Life
Fridge Storage
Store cooked stuffed peppers in an airtight container for up to 3 days. Keep them in the fridge and reheat in the oven at 350°F for 15 minutes, or until heated through. The peppers may lose a bit of crispness, but the flavors stay intact.
Freezer Friendly
Place the assembled peppers in a freezer‑safe dish, cover tightly with foil, and freeze for up to 2 months. When ready to eat, bake at 375°F for 45 minutes, or until heated through. This method preserves the texture and taste remarkably well.
Best Reheating Method
Add a splash of water or broth before reheating to keep the peppers moist. Cover with foil to trap steam, which helps prevent the filling from drying out. This small trick keeps the dish feeling fresh, even after a day in the fridge.