I was sitting on the couch, scrolling through a never‑ending stream of “quick snack” videos, when my roommate shouted, “I dare you to make something that actually makes people forget about pizza!” I laughed, grabbed a can of chili, a block of cheese, and thought, why not turn that dare into a masterpiece? The kitchen was a battlefield of clanging pans, the smell of sizzling onions, and the faint hum of the fridge that sounded like a low‑key applause. I could already hear the crunch of tortilla chips, the gooey pull of cheese, and the subtle heat of chilies dancing on my tongue. The whole scene felt like a movie montage, except the hero was a humble dip that promised to become the life of every party.
Fast forward an hour, and the kitchen was a fragrant chaos of melted cheese bubbling like lava, a whisper of smoked paprika drifting through the air, and a chorus of sizzling ground beef that made the whole house feel like a backyard grill. I tasted the first spoonful and was hit with a wave of flavors that hit the palate like a perfectly timed drum solo—creamy, spicy, and umami‑rich, all wrapped in a velvety cheese blanket that clung to every chip. Most dips either drown in cheese or get lost in a watery sauce; this one hits that sweet spot where the cheese is the star but never overpowers the chili’s depth. I’m telling you, this is hands down the best version you’ll ever make at home, and I’m willing to bet you’ll be back for seconds even after you’ve told yourself you’re “just having one.”
What truly sets this dip apart is a tiny secret ingredient that most recipes completely ignore: a splash of heavy cream mixed with a dash of flour before the cheese even sees the heat. This creates a silk‑smooth base that prevents the dip from separating, giving it a luxurious texture that coats chips like a buttery veil. Most people think you need a fancy sous‑vide or a secret spice blend, but the truth is simpler and more delicious. I’ll be honest — I ate half the batch before anyone else got a chance to try it, and that’s because the aroma was so intoxicating that I couldn’t resist. If you’ve ever struggled with a dip that turns grainy or separates, you’re not alone — and I’ve got the fix.
Picture yourself pulling this out of the oven, the whole kitchen smelling incredible, steam rising like a warm invitation. The top is lightly browned, the edges are pulling away in a way that screams “dip me” to every passerby. Okay, ready for the game‑changer? The next part? Pure magic. Stay with me here — this is worth it.
What Makes This Version Stand Out
- Taste: A balanced symphony of smoky chili, creamy cheese, and a hint of heat that never overwhelms. The flavor layers develop as the dip sits, getting richer with every bite.
- Texture: Silky, velvety, and thick enough to cling to chips without dripping like soup. The secret flour‑cream roux locks in moisture for a perfect bite.
- Simplicity: Fewer than fifteen ingredients, most of which you already have in your pantry. No fancy equipment, just a skillet and an oven‑safe dish.
- Uniqueness: The cream‑flour base is a twist most chili dip recipes skip, giving it that restaurant‑quality mouthfeel.
- Crowd Reaction: Guests rave, “Is this from a restaurant?” and immediately ask for the recipe. It becomes the centerpiece of any gathering.
- Ingredient Quality: Using sharp cheddar and a good‑quality chili makes the flavors pop. Cheap cheese makes the dip taste flat.
- Cooking Method: A quick stovetop sauté followed by a short bake locks in flavor while giving the top a golden crust.
- Make‑Ahead Potential: You can prep the base a day ahead, refrigerate, and finish the bake when guests arrive, saving precious party time.
Inside the Ingredient List
The Flavor Base
Ground beef (1 lb) provides a hearty backbone, delivering that meaty umami you expect from a classic chili. If you skip the beef, you lose the depth, so consider using ground turkey for a leaner version, but expect a milder flavor. The onion (1 small, finely diced) releases sweet aromatics when sautéed, creating a fragrant foundation that balances the heat. Garlic (2 cloves, minced) adds a pungent kick that rounds out the savory profile. When the onions turn translucent and the garlic turns golden, you know the flavor base is ready for the next step.
The Texture Crew
Cream cheese (8 oz, softened) melts into a luscious, creamy pool that binds everything together. Choose full‑fat cream cheese for the richest mouthfeel; low‑fat versions can become rubbery. Shredded sharp cheddar (1 cup) brings a tangy sharpness and a beautiful melt, while Monterey Jack (½ cup) adds buttery meltability. The combination ensures the dip is gooey without becoming stringy. Flour (2 tbsp) and heavy cream (¼ cup) create a quick roux that thickens the dip and prevents separation—think of it as the secret stabilizer that professional chefs swear by.
The Unexpected Star
Jalapeño (1, seeded and minced) injects a bright, fresh heat that cuts through the richness. If you’re daring, leave the seeds for an extra punch; if you’re more cautious, swap it for a milder poblano or even a diced red bell pepper for color without heat. Smoked paprika (1 tsp) adds a subtle smokiness that mimics a backyard grill, while cumin (1 tsp) lends an earthy, warm note that anchors the chili flavor. Chili powder (½ tsp) deepens the spice profile without overwhelming the palate.
The Final Flourish
A pinch of black pepper and salt to taste are the final seasoning touches that bring everything into harmony. Fresh cilantro (optional, chopped) adds a bright, herbaceous finish that lifts the dip just before serving. A drizzle of olive oil (2 tbsp) at the start of sautéing ensures the onions and garlic don’t stick, and it adds a subtle fruitiness that rounds out the flavor. For a garnish, sprinkle extra shredded cheese and a few jalapeño rings on top before baking; they’ll melt into a golden crown that looks as impressive as it tastes.
Everything's prepped? Good. Let's get into the real action...
The Method — Step by Step
Heat 2 tbsp olive oil in a large skillet over medium heat. Once shimmering, add the diced onion and sauté for 3‑4 minutes until it becomes translucent and sweet. That sizzle when it hits the pan? Absolute perfection. Add the minced garlic and continue cooking for another 30 seconds, just until fragrant. This is the moment where the base starts building its aromatic foundation.
Increase the heat to medium‑high and crumble the ground beef into the skillet. Break it up with a wooden spoon, letting it brown evenly. You’ll hear a satisfying crackle as the meat sears—listen for that to know you’ve got a good crust forming. Cook for about 5‑6 minutes until the beef is fully browned and any liquid has evaporated. Drain excess fat if you prefer a leaner dip, but keep a tablespoon for flavor.
Stir in the minced jalapeño, smoked paprika, cumin, and chili powder. Let the spices toast for 1‑2 minutes, stirring constantly; this “blooms” the spices, unlocking deeper flavors. The kitchen will fill with a warm, smoky aroma that tells you you’re on the right track. If you love extra heat, this is the point to add a pinch of cayenne.
Reduce the heat to low and stir in the flour‑cream mixture, followed quickly by the softened cream cheese. Keep the stove on low to avoid scorching; you’ll notice the dip thickening within a minute. The cream cheese should melt smoothly, creating a glossy base that coats the meat like velvet. If the mixture looks too thick, add a splash of milk or broth to loosen it.
Now fold in the shredded cheddar and Monterey Jack cheeses, one handful at a time, allowing each batch to melt before adding the next. This gradual incorporation prevents clumping and guarantees an even melt. The dip should look luscious and slightly glossy, with cheese strands that stretch just a little when you stir.
Transfer the entire mixture to an oven‑safe baking dish (about 9×9 inches works well). Sprinkle a final layer of shredded cheddar on top for a golden crust. This top layer will melt and then brown, giving you that irresistible cheesy crust that shatters like thin ice when you dip.
Place the dish in a pre‑heated oven at 375°F (190°C) for 15‑20 minutes, or until the top is bubbling and lightly browned. The edges will start pulling away from the sides, a visual cue that the dip is set and ready. While it bakes, the aroma will fill the house, pulling everyone toward the kitchen like moths to a flame.
Remove the dip from the oven and let it rest for 5 minutes. This short rest allows the cheese to firm up just enough for clean scooping. Garnish with chopped cilantro, a drizzle of olive oil, and optional jalapeño rings. Serve hot with tortilla chips, pretzel sticks, or even sturdy veggies. And now the fun part—dig in, and I dare you to taste this and not go back for seconds.
That's it — you did it. But hold on, I've got a few more tricks that'll take this to another level...
Insider Tricks for Flawless Results
The Temperature Rule Nobody Follows
Keep the heat low once the cheese joins the pan. High heat causes the proteins to seize up, resulting in a gritty texture. I once tried to speed things up by turning the burner to high, and the dip turned into a cheese‑oil separation nightmare. The low‑and‑slow approach ensures a silky mouthfeel that clings to chips without breaking.
Why Your Nose Knows Best
Your sense of smell is the secret gauge for doneness. When the dip starts to give off a toasted, buttery aroma, you’re at the perfect point to pull it from the oven. Trust that scent; it’s more reliable than a timer. A friend once over‑baked the dip, and the cheese turned a burnt amber, ruining the flavor profile.
The 5‑Minute Rest That Changes Everything
Letting the dip sit for five minutes after baking lets the cheese set, preventing it from sliding off the chip. This rest also allows the flavors to meld, creating a more cohesive taste. Skipping this step leads to a runny dip that can be messy to serve.
The Flour‑Cream Secret
Whisking flour with heavy cream before adding cheese creates a roux that stabilizes the emulsion. This prevents the dreaded grainy texture that plagues many home‑cooked dips. I once omitted this step, and the dip turned into a curdled mess—lesson learned.
Seasoning at the End
A final pinch of flaky sea salt just before serving can brighten the whole dip, much like a splash of lemon on a fish dish. It amplifies the flavors without making the dip salty. I always taste and adjust right before serving to ensure balance.
Creative Twists and Variations
This recipe is a playground. Here are some of my favorite ways to switch things up:
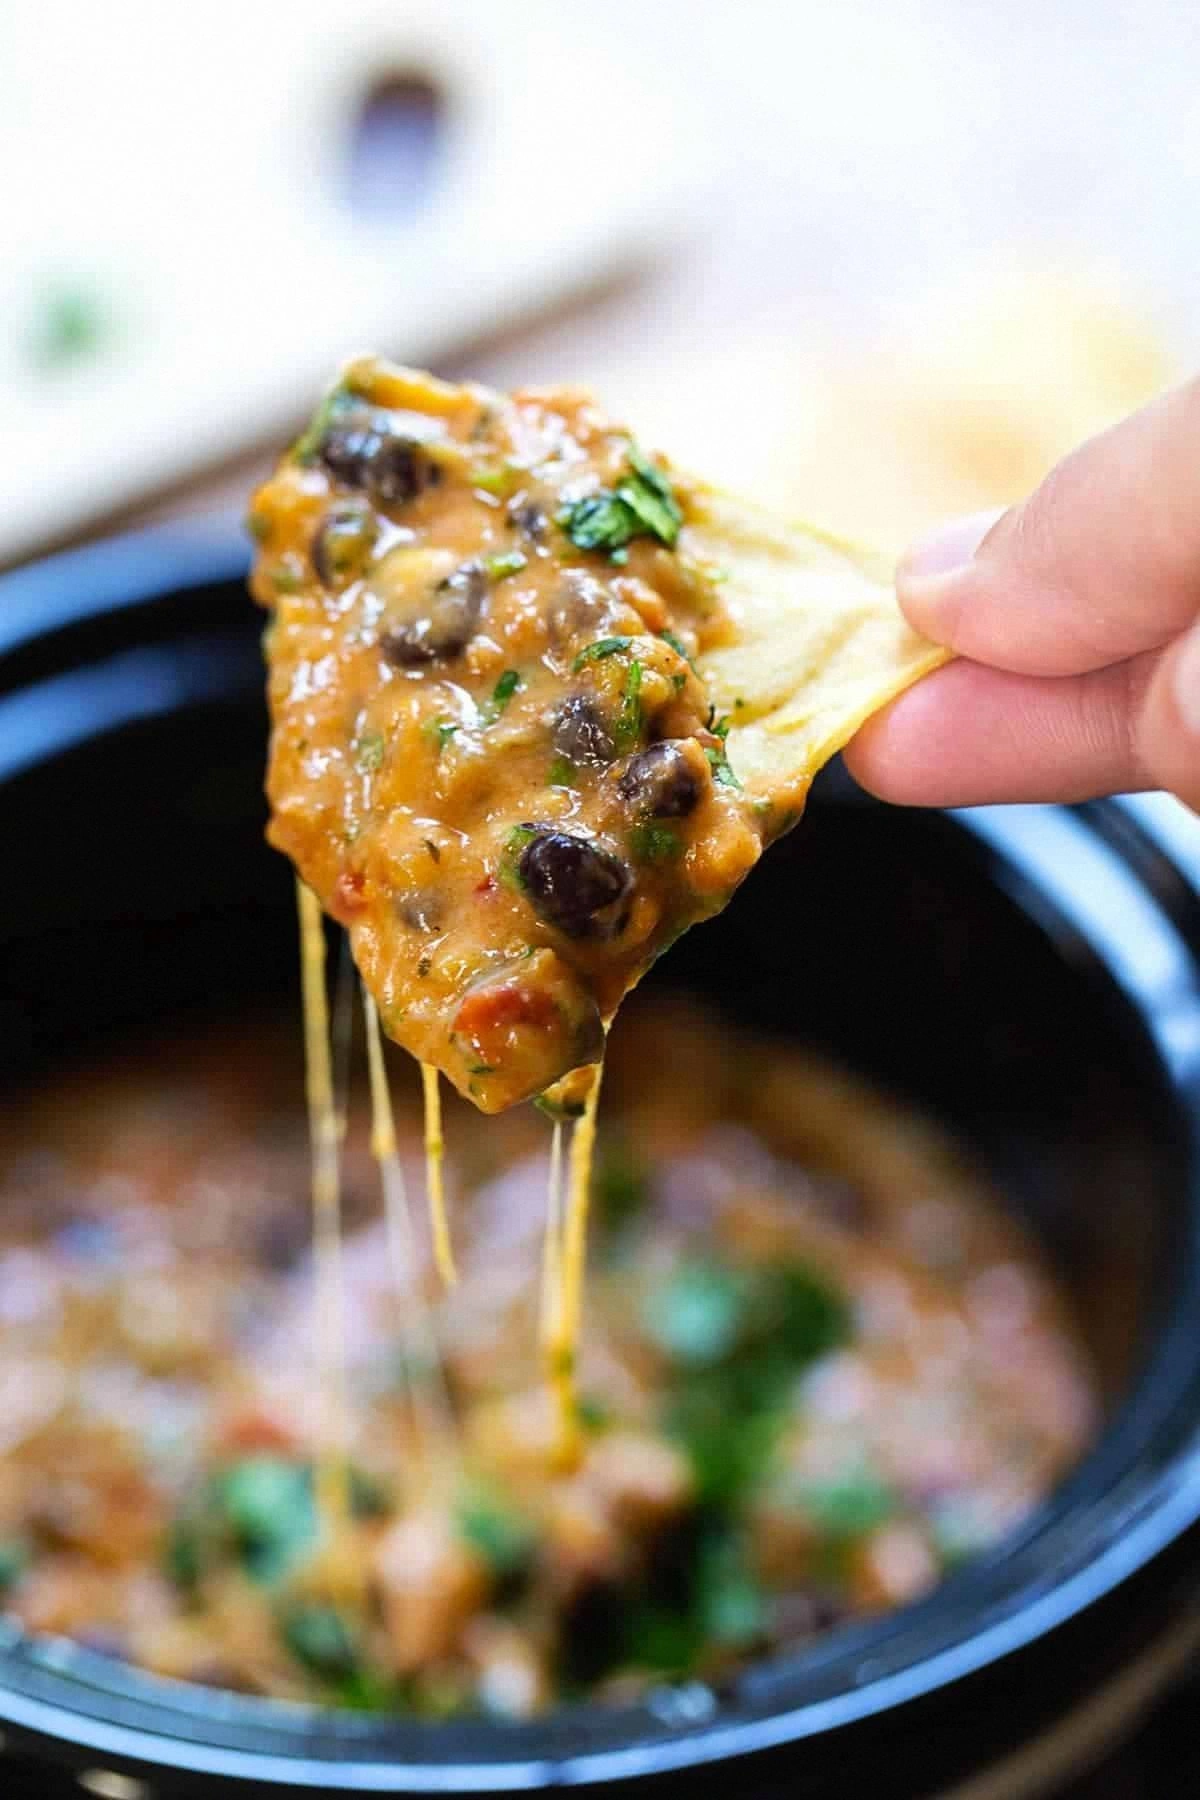
Southwest Black Bean Blast
Swap the ground beef for a can of black beans (drained and rinsed). Add a teaspoon of chipotle in adobo for smoky heat. This vegetarian version keeps the creamy texture while delivering a hearty, protein‑packed dip that’s perfect for taco night.
Bacon‑Cheddar Crunch
Stir in ½ cup of crispy cooked bacon bits after the cheese melts. The smoky bacon adds crunch and a salty depth that pairs beautifully with the existing flavors. Ideal for brunch gatherings where everyone loves bacon.
Spicy Sriracha Swirl
Drizzle 2 tbsp of sriracha into the dip just before baking and swirl it with a spoon. The result is a gorgeous marbled appearance and a subtle Asian‑inspired heat that surprises the palate.
Green Chili & Corn Delight
Add ½ cup of roasted corn kernels and 1 tsp of minced green chilies for a sweet‑heat combo. The corn adds a pop of sweetness that balances the spice, making the dip perfect for summer barbecues.
Cheesy Spinach Surprise
Fold in 1 cup of fresh spinach leaves after the cheese melts; they’ll wilt into the dip, adding a mild vegetal note and a splash of color. This variation feels a bit more “grown‑up” and sneaks in some veggies.
Storing and Bringing It Back to Life
Fridge Storage
Transfer any leftovers to an airtight container and refrigerate for up to 3 days. The dip thickens as it cools, but you can re‑heat it gently on the stovetop over low heat, adding a splash of milk or water to restore its creaminess.
Freezer Friendly
Portion the dip into freezer‑safe bags or containers; it freezes well for up to 2 months. When you’re ready to use it, thaw overnight in the fridge, then reheat gently, stirring in a tablespoon of water to bring back that silky texture.
Best Reheating Method
For the ultimate reheating, pre‑heat the oven to 350°F (175°C), spread the dip in an oven‑safe dish, and bake for 10‑12 minutes, uncovered. The top will regain its golden crust, and the interior will melt back into a velvety pool. A tiny splash of water before reheating creates steam that revives the dip without drying it out.